Create a Tuscan Look With Plaster
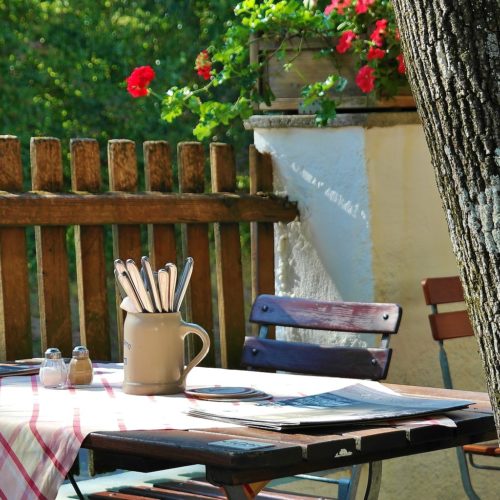
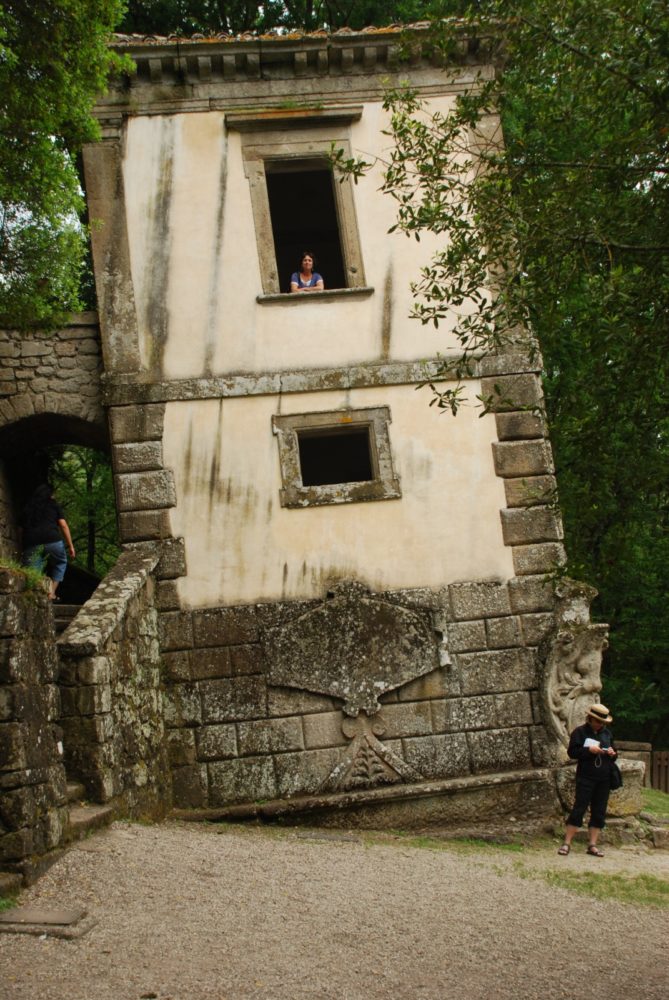
What images do we conjure when we think of Italy? The rich farmland and the sparkling Mediterranean sea? The sun ripe olives and the heady aroma of lavender? The ageless villas replete with a patina of age and history? The thick stone walls of these older Italian homesteads, with their lavish, hand-troweled plaster, are still as beautiful and practical today as they were hundreds of years ago. The walls keep the warmth in during the cold months, and withstand the beating sun during the warm months. Many families still live quite comfortably without central heating and cooling within the walls of these timeless abodes.
While plaster itself is difficult for at-home do-it-yourselfer, there is a significantly easier (and less inexpensive way) to create this effect in your own home!
Supplies:
- Joint Compound (you can buy large boxes of premixed compound for just a few dollars)
- 2 shades of paint (see directions for more details)
- 2 trowels per person working
- Paint trays, rollers, and brushes
- Disposable bucket or large aluminum baking dish
- Glazing medium, water, or Future floor finish.
- Disposable clean dry cotton rags (old t-shirts work well)
Directions:
The easiest way to properly match your undercoat and overcoat, choose two colors from one paint-chip card within a couple shades of each other. You can have the top shade be lighter to make the walls pop with color, or slightly darker to give it a more aged, rustic patina. For the most authentic Tuscan effect, choose shades in the apricot, peach, pumpkin, and ochre families.
Although the base shade can be mixed with the joint compound, it requires more tools to do so and you have to work much quicker (since the compound has to be removed from its box to be mixed with the color it will dry out much easier). It is actually quicker to complete the plaster effect first then do the painting. This also allows you to break the job up into smaller pieces if your time is limited!
Scoop a handful of joint compound on to the top of one trowel, and hold it in your less-dominant hand (for example hold it in your right hand if you are left handed). Use the other trowel to scoop small amounts of the joint compound off the first trowel and spread them on the walls. Work in different directions, giving the walls peaks and valleys of texture! When the first trowel is almost empty of joint compound, you can work the final bits of it in using both trowels at once, for more multi-directional textural interest. Make sure to smooth out any sharp edges.
Continue scooping and spreading until your entire wall is covered. Let dry completely.
Paint your base coat over the textured wall, making sure to get full coverage on the surface. Foam rollers will give you better coverage than rag rollers on this un-smooth surface but they will tear up faster. If you use rollers, you may have to go do touch-ups with a paintbrush to make sure all areas are covered. Let the base coat dry completely.
The second coat is going to be a lighter, ragged-on glaze. You can use a glazing medium for this step, but it isn’t necessary. Glazing medium has the benefit of being self-leveling, quick drying, non-yellowing, and water-resistant. It will also give you shinier, jewel-like shades of color. It is also more expensive! A cheaper option is to use a liquid acrylic finish (such as Future Floor Finish), which has many of the same properties, or to simply use water to thin your paint. Water thinned paint will give you a more matt finish and more variegated, hand-worked effect.
Mix equal parts water or glazing medium with your topcoat in a bucket or aluminum roasting pan. Ball up your cloth rags and dip it in the paint mixture. Dab over the surface of the walls to create more depth and shadow to the undercoat of paint. It is better to use too little rather than too much, you can always add another coat later! Keep another clean dry rag handy for wiping off if you get too much concentration of glaze in one area.
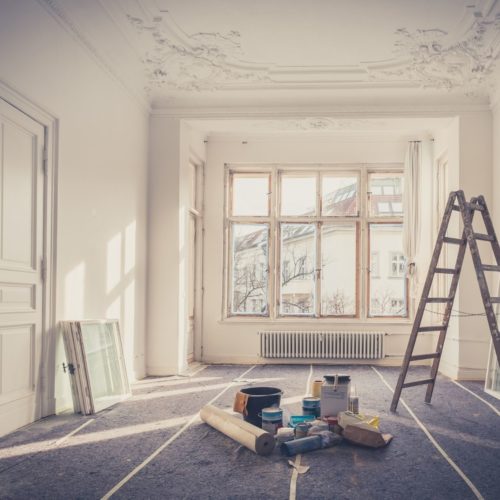
This is a wonderful technique for hiding walls that have seen better days. The joint compound will cover cracks, small holes and gouges, and that horrible textured flocking!
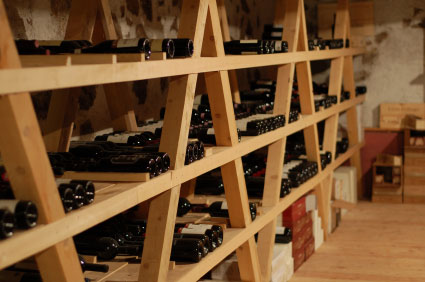
When you are all finished you can put on a CD of Andrea Boccelli, fix yourself a nice glass of wine or an Espresso and enjoy your own little slice of Italy…no matter where you live!
Faith Harper